How To Prepare Your Quilt Top for Machine Quilting
I am not the Quilt Police...this info is to help you have the best finished product!
Quilt Top
- Please do not embellish your top until after it has been quilted. (buttons, ribbons, etc.)
- Quilt top should be neatly pressed both front and back with loose threads trimmed
- Mark top edge of quilt. A safety pin works well for this.
- Back stitch any seams that come to the edge of the quilt, and if you have any bias edges on the perimeter of the quilt, please stay stitch the edge with an I/8" allowance.
- Quilt top must be clean and free of any odor or pet hair to prevent transfer to other quilts in the studio.
Border Tips
The most common problem encountered by machine quilters are borders with extra fullness that will not lay flat, causing tucks, pleats, or gathers during machine quilting.
- Measure your quilt top in three places lengthwise: left, right, center. Add those measurements and divide by 3 to get an average.
- Cut the two side borders to this measurement. Pin border to quilt at each end and center, ease to fit. Pin to distribute any fullness. Sew and press.
- Repeat this process for the top and bottom borders.
- Repeat for any additional borders.
Backing and Batting
- Your backing must be square (straight) for it to load properly on the quilting frame.
- Mark top edge of backing if fabric is directional. A safety pin will work for this.
- The backing and batting must be 5-6 inches larger than the quilt on all sides. Example - 100x100 quilt top would require a minimum 110x110 backing and batting.
- Remove all selvages from the seams of the backing. A larger seam allowance that is pressed open will give you a smoother finish and avoid the tendency for a backing seam to pleat or pucker.
- It is impossible to perfectly center your backing so please allow for this when piecing your backing.
- The backing should be neatly pressed.
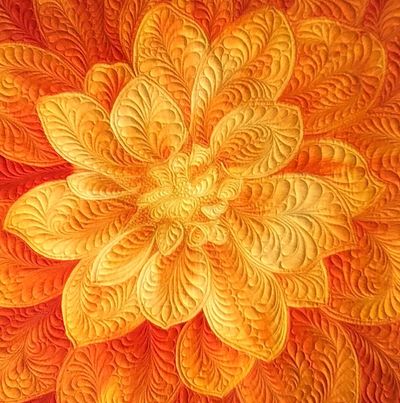
Freehand machine quilting on wholecloth